Laboratory testing can be the most expensive part of an environmental project. Ensuring data quality is relatively easy and protects this significant investment of time (planning, sampling, processing) and money (laboratory testing).
Plan Ahead
It’s been said to always “begin with the end in mind.” For environmental projects this is usually in the form of a Sampling Plan or Quality Assurance (QA) Plan or both. These plans can be simple or complex and should always consider the following:
- Data objectives – how will the data be used?
- Sampling locations and methods
- Required preservatives, analytes, detection limits, testing methods, holding times, etc.
- Lab-specific QA requirements
- Validation frequency and levels
To avoid surprises, the planning process should include the regulators, other stakeholders, samplers, the laboratory and the data validation chemists.
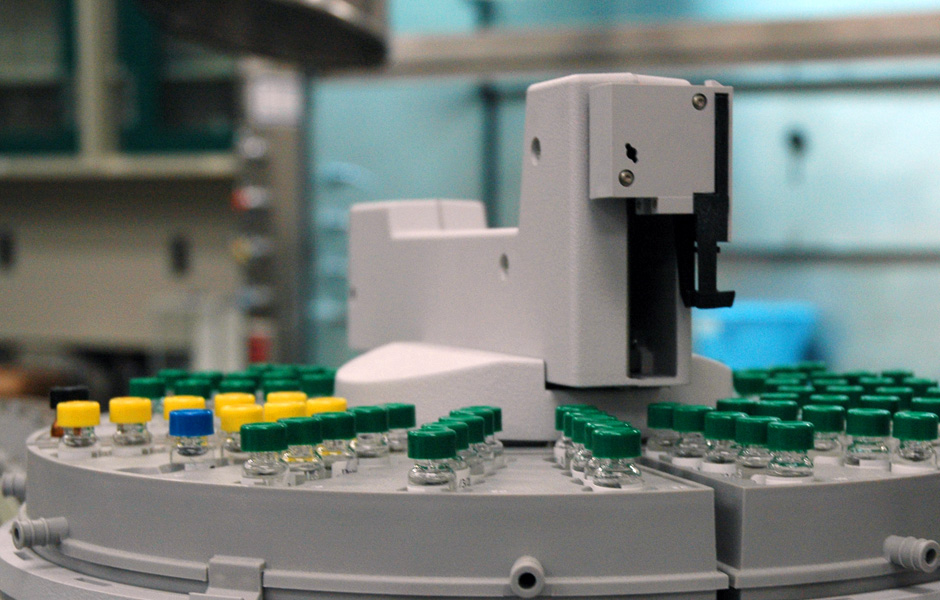
Engage the Laboratory
All good labs provide analytical project management support. Don’t be shy. Take the time to sit down and go over your project with them. They will review the parameter list, detection limits and other requirements and help you select the most appropriate analytical methods. They will help you consider the different reporting, data package and electronic reporting options. They will help you to prepare and organize sample bottles, chain-of-custody (COC) forms and other documentation to help everyone to stay on the right track. They will begin to build a project file that will help remind them of your specific needs.
Validate the Data
The purpose of data validation is to ensure the quality and usability of your laboratory data. For all laboratory projects, some level of data validation should be performed before the data is used. Validation can be performed in-house or by a third party chemist. Validation can be entirely manual or in conjunction with automated methods.
Historically, data validation strategies have their roots in the EPA’s Functional Guidelines for Data Review. These guidelines were developed specifically for the few organic and inorganic methods used for Superfund cleanup work. Today, data validation “levels” are often mentioned with no real consensus as to exactly what each level of validation should include (hence the need for a QA Plan). But generally we agree that Level I is a cursory review and that Level IV is the kitchen sink. Most projects fall somewhere in between. It is not uncommon to specify 100% Level III and 10% Level IV for a given project. Common validation levels include:
- Level I – Correct parameters were tested, compare results vs. historical data, review laboratory notes and flags
- Level II – Level I plus: chain-of-custody records, preservation, holding times, detection limits, lab control standards, duplicates and blanks
- Level III – Level II plus: matrix spikes, surrogates, calibrations, interference check standards, and internal standards
- Level IV – Level III plus: spot checks of calculated results, review of raw data, , quantitation records, chromatograms, mass spectra, extraction records and bench sheets
Data validation can be tedious and time consuming. Validation is most commonly performed manually using the custody records, Quality Control (QC) summary forms and other documents provided by the laboratory. Given a complete electronic file (electronic disk deliverable or EDD) from the laboratory and the correct software, many of the data validation steps can be performed electronically. This is particularly useful when validating data from large or ongoing projects.
Use Data Wisely
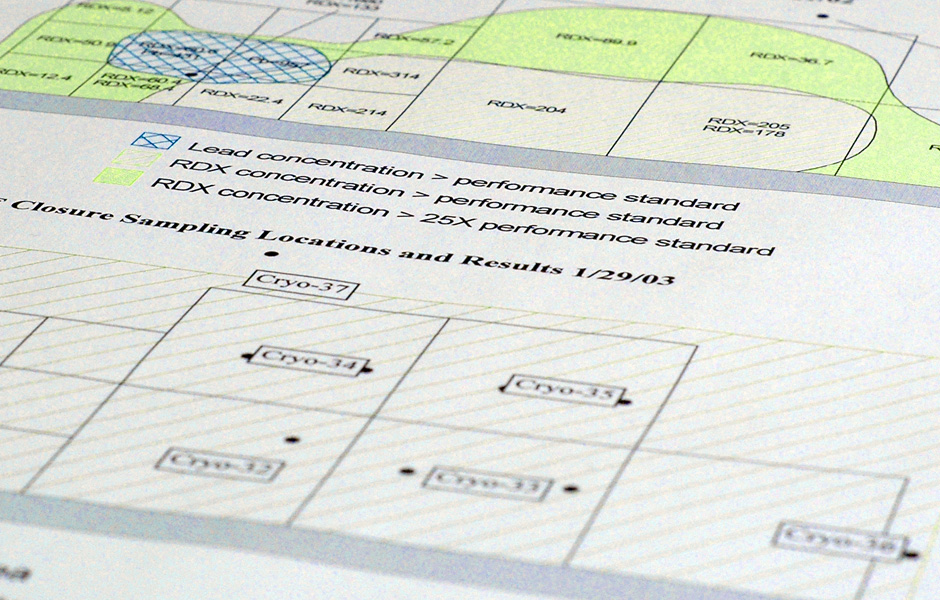
Validated data will either be given a clean bill of health or be annotated with flags or “qualifiers.” Data qualifiers are used in lab reports to indicate a problem or irregularity with the analytical result. The most common qualifiers are shown here; most labs also will use footnotes to explain the qualifiers they have used. Some of the most commonly used qualifiers include:
- J – The number is an estimated concentration because something in the sample interfered with the analysis
- U – The contaminant was not detected at a concentration greater than the detection limit
- UJ – The contaminant was not detected, but the detection limit is estimated because of interference from something in the sample
- R – The data are unusable. Re-sampling and reanalysis are necessary for verification.
A qualifier may be assigned to a single data point (0.015 J) or groups of results (flag all of the non-detect VOC results with a “UJ”). Pay attention to the notes and qualifiers provided by the laboratory and validation reports. Handle the data and develop your conclusions accordingly. In addition, remember that even unqualified data is subject to inherent homogeneity, sampling and analytical errors.
For successful laboratory projects, remember to plan ahead, engage the laboratory, validate the data and then use it wisely.
Joel Workman is the President of AQS, a consultant in environmental science. AQS provides environmental project management, permit writing and data validation to meet your specific project needs. Contact us for more details.